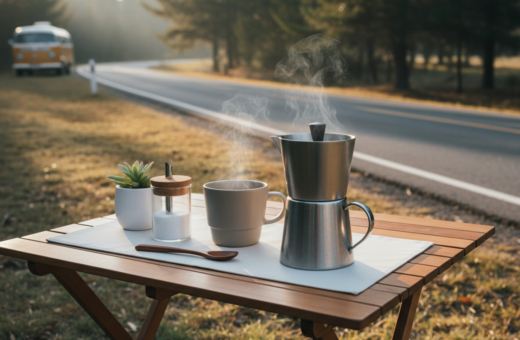
The first step in designing a comfortable camper van is deciding how to store mugs and brewing tools. They must stay secure while travel shakes and turns, yet remain easy to reach during a morning ritual.
Every van owner should weigh visual appeal against safe transit storage. A well-planned camper van kitchen blends style with function so daily coffee routines run smoothly.
This short guide helps readers compare common choices for a van kitchen. It highlights practical trade-offs and points to features that matter most for life on the road.
By matching storage choices to travel habits, they can create a layout that protects fragile items and supports a joyful cooking and brewing experience on trips.
Understanding Your Van Kitchen Storage Needs
A practical storage plan starts by mapping how often meals are cooked and where they happen. That single decision will shape the overall layout and affect every element of the conversion.
First, assess cooking habits. If they prepare full meals inside, a larger fridge and ample counter work better. For quick coffee runs, a compact induction top and minimal storage may suffice.
Next, factor utility systems into the build. A safe water system and reliable electrical setup keep appliances running and protect gear during travel.
- Counter and floor space: Choose layouts that save walking room and allow easy access to frequently used items.
- Slide-out fridge: Installing one under the counter frees floor area in a small campervan.
- Modular ideas: Flexible modules make it easy to store dry food and essential tools without wasted space.
Careful planning links practical storage with design goals. They can then balance accessibility, safety, and comfort for life on the road.
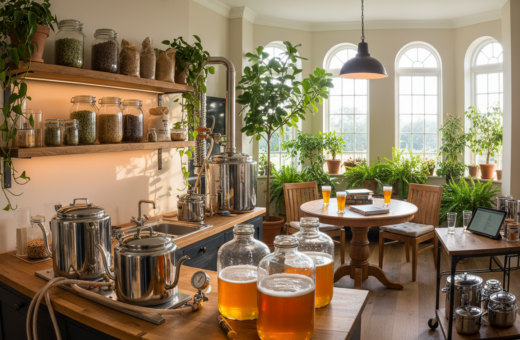
The Aesthetic Appeal of Open Shelving Camper Van Kitchen Designs
A tasteful shelf run can transform a tight campervan interior into a bright, purposeful living area. Visible units make the small room feel larger and invite more light into the space.
Visual impact: A neat shelf layout shows off mugs, spice jars, and favorite gear. Many builders pair wood accents with white panels to craft a warm, cohesive design. Rover Vans’ Kitchen Moon units are a popular choice for a stylish, accessible display that keeps items within reach.
Dust and Debris Concerns
Practical upkeep matters. Exposed shelves collect dust when driving on dirt roads or through windy areas. Small lids, elastic straps, or non-slip mats help keep mugs steady on top displays.
- Install an overhead shelf near the sliding door for quick access to spices and mugs.
- Add a dedicated drawer for heavy items so only light items remain on the top shelf.
- Secure loose items before travel to protect both gear and cabinets.
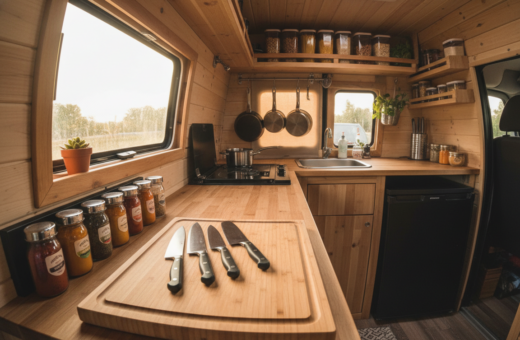
Benefits of Closed Cabinets for Secure Storage
Closed cabinets give fragile gear real protection when the road gets rough. They lock mugs and glass brewing tools in place and reduce the chance of chips or cracks during uneven drives.
Protecting fragile items: A well-made wood cabinet door and solid latches stop items from shifting. An overhead unit with a positive catch is ideal for heavier pans and jars.
Built-in appliances: Installing a Dometic hob or stove inside a closed cabinet keeps the space clean and stops grease from spreading across the counter and shelf tops.
- Hiding the sink and water pump inside a cabinet helps maintain a minimalist layout.
- Adding a dedicated drawer for the fridge frees up counter space and tucks food away securely.
- Quality wood doors and strong hardware create a durable storage system for life on the road.
Comparing Accessibility and Workflow
A thoughtful layout makes it easy to move between the sink, stove, and fridge without wasting limited space. Placing the sink and stove along the side of the unit creates a natural cooking flow.
When the sliding door lines up with the prep area, the build lets users shift from indoor to outdoor cooking in seconds. This layout is popular in many campervan builds for that reason.
A compact system keeps water, food, and power within arm’s reach. Putting light items and brewing gear on a reachable shelf speeds morning routines.
Heavy pots live in a back cabinet to lower the center of gravity. A fold-down counter adds plenty of prep area without blocking the aisle.
- Tip: Store the most-used tools at eye level for fast access.
- Tip: Keep the fridge and water near the stove to cut extra steps.
- Tip: Design the unit so one person can cook and move safely in tight space.
Simple, consistent placement improves speed and reduces spills. A clear workflow makes the small mobile kitchen feel like a full-featured area.
Managing Weight and Structural Integrity
How weight is distributed and secured has a direct effect on durability during a road trip. This section covers material mass, fasteners, and ways to control vibration so the unit lasts through rough miles.
Material Weight
Choose light wood panels and aluminum frames where possible. The TNTvans system is engineered to be as light as possible while keeping structural strength for a rugged conversion build.
Mounting Hardware
When installing a heavy kitchen unit, make sure to use proper mounting hardware like riv nuts or wood inserts to anchor the system to the floor. A solid mount reduces movement around the fridge and cabinets and helps protect the build.
Vibration Control
Vibration can loosen screws and ruin joints. They should make sure fasteners are checked after the first few trips and add redundant bracing so every shelf and cabinet endures off-road forces.
- Design note: The TNTvans bed system holds at least 600 lbs, showing how aluminum-framed units can balance strength and weight.
- Install tip: Installing a sink system can take up to 1.5 hours; make sure all connections are tight to avoid leaks.
Essential Tips for Organizing Mugs and Brewing Tools
Smart storage choices make morning coffee easier and reduce breakage on bumpy roads.
They should use a small spice rack and dedicated drawer dividers to keep brewing tools from rattling. A lined drawer keeps filters, spoons, and tampers tidy and quick to reach.
Rover Vans’ Kitchen Moon unit is a compact option that adds clever storage without taking extra space. Pair it with a portable induction cooktop or a Dometic hob to save counter space while keeping the features needed for gourmet cooking.
Many travelers secure mugs on a top shelf with a bungee cord or a small lip to stop spills on back roads. Adding a sink with a folding faucet provides plenty of extra counter when not washing dishes.
Practical ideas include grouping food and spice jars together and stowing heavy items low in closed cabinets. This layout keeps weight down and makes cooking routines faster.
- Quick tip: Use non-slip mats inside drawers for fragile items.
- Quick tip: Store frequently used mugs at eye level for fast access.
- Quick tip: Choose wood or lightweight materials to balance durability and mass.
Safety Considerations for Kitchen Gear
Before hitting the road, ensure every heavy appliance and tool is fastened to avoid damage or injury. A clear safety routine protects the living area and preserves the build.
Securing Items During Transit
Make sure all major units — especially the stove and fridge — are bolted to the van floor. This prevents shifting during sudden stops and keeps weight low and stable.
Make sure locking slides rated for at least 250 lbs secure any slide-out unit. High-quality slides keep the pull-out work area steady and reduce wear on the layout.
Make sure propane lines, water connections, and electrical fittings are sealed and checked regularly. Installing a carbon monoxide detector is essential when using a stove or induction hob.
- Open the sliding door when cooking to provide plenty of ventilation for the cooking area.
- Store mugs and brewing tools in a closed drawer or cabinet so they do not become projectiles.
- Anchor heavy items to the floor and place fragile gear on a low shelf or in a back cabinet.
Budgeting for Your Storage System
Estimating costs early prevents surprise expenses during a conversion. A basic 2D layout plan usually runs $150–$500. A full 3D design can range from $1,200–$3,000 depending on detail and service level.
When planning van storage, they should itemize major components. Account for a fridge, stove, custom shelf or cabinet units, and installation hardware. IKEA cabinets are a budget-friendly option, but make sure to reinforce them for road vibration.
Measure the floor and wall dimensions before buying any unit. Accurate measurements prevent costly adjustments and rework.
- Balance professional conversions versus DIY savings based on skill and time.
- Prioritize investing in quality storage ideas early to avoid replacements later.
- Include mounting and reinforcement costs in the plan to protect fragile gear.
For practical guidance on full builds and layout planning, see a step-by-step conversion resource like how to build a camper van.
Conclusion
Smart design balances tools, movement, and safety so cooking on the road stays simple.
Designing the perfect van kitchen rewards careful choices that match cooking habits with limited space. They should weigh style against secure storage, and place the fridge and daily items where reach is fast.
Whether they pick visible displays or closed units, the best setup reflects personal needs and travel style. Prioritizing fast access, low weight, and strong mounts keeps gear safe on rough roads.
With clear planning and these ideas, a thoughtful van conversion can deliver the comfort of a home kitchen in a compact campervan. That makes every trip more enjoyable and less stressful.